
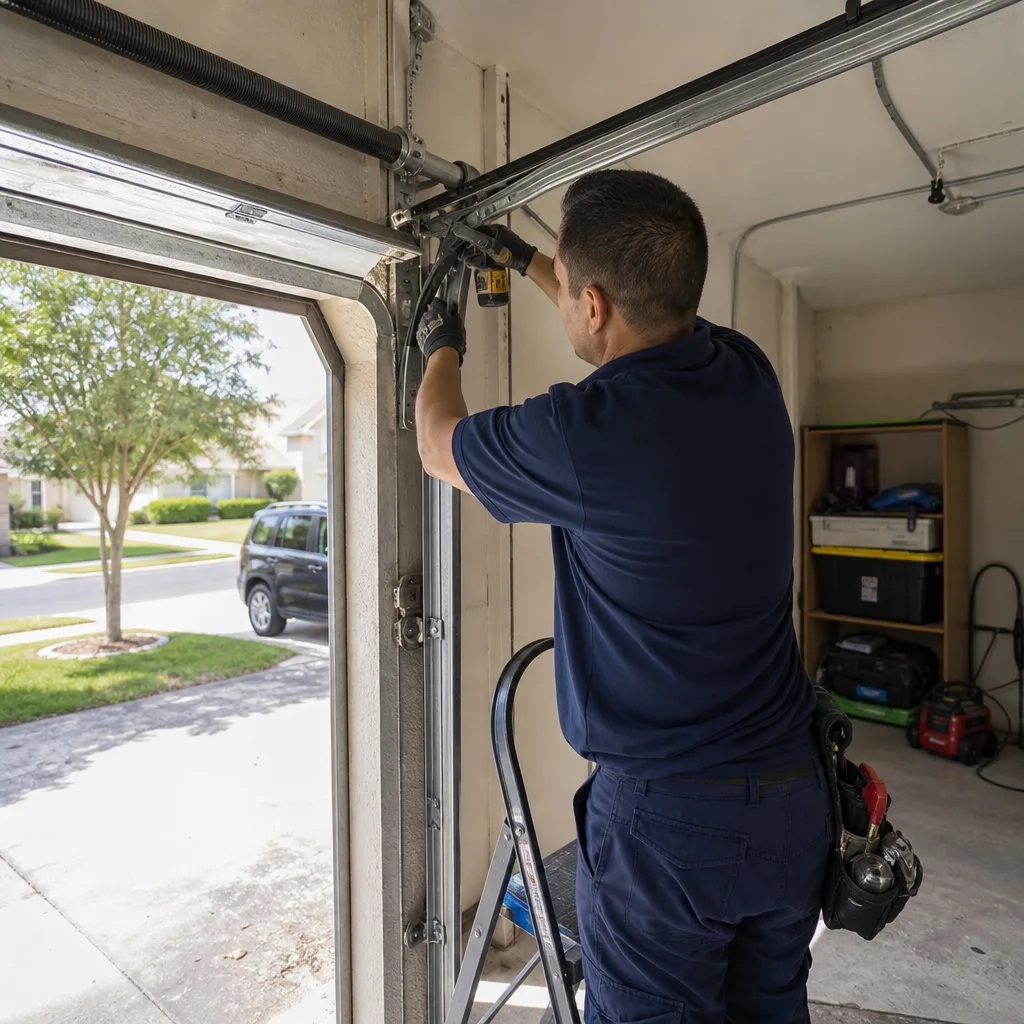
Last updated October 16, 2026
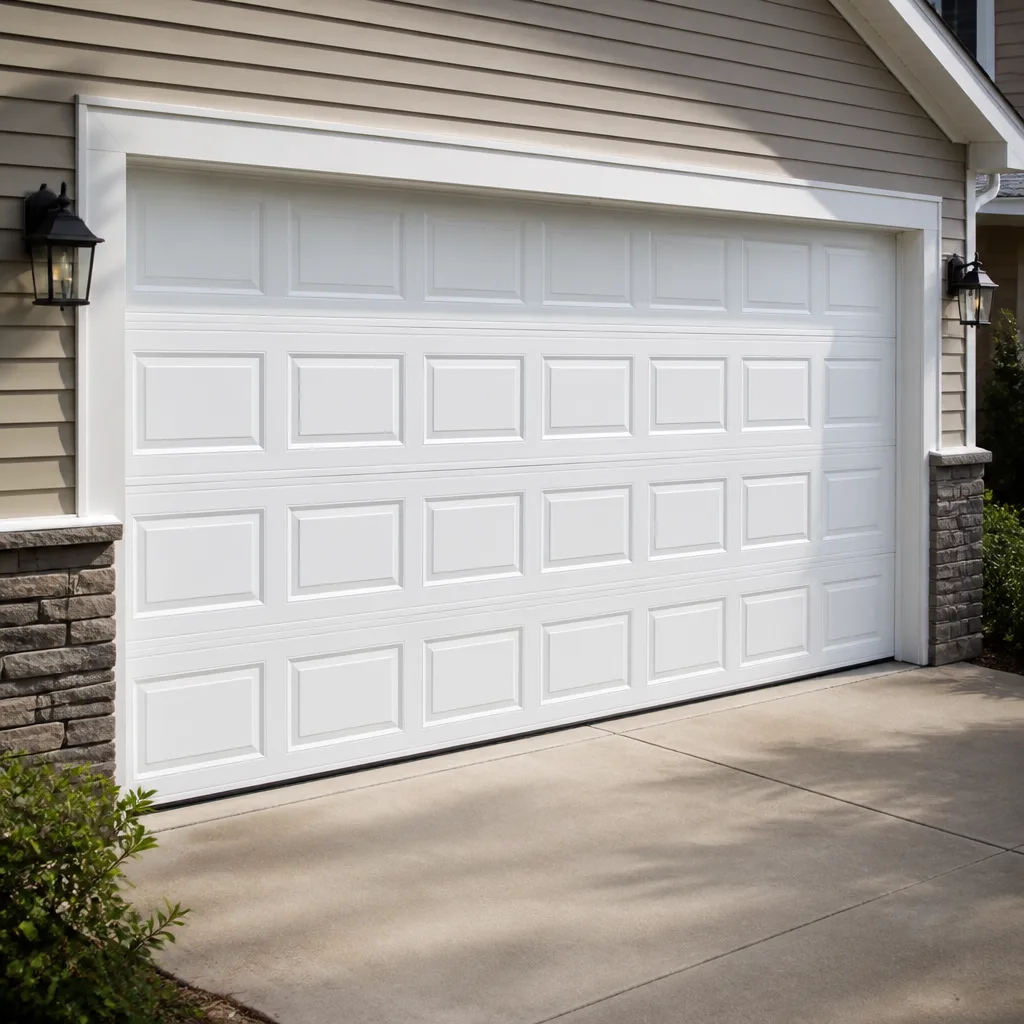 Raised-panel steel
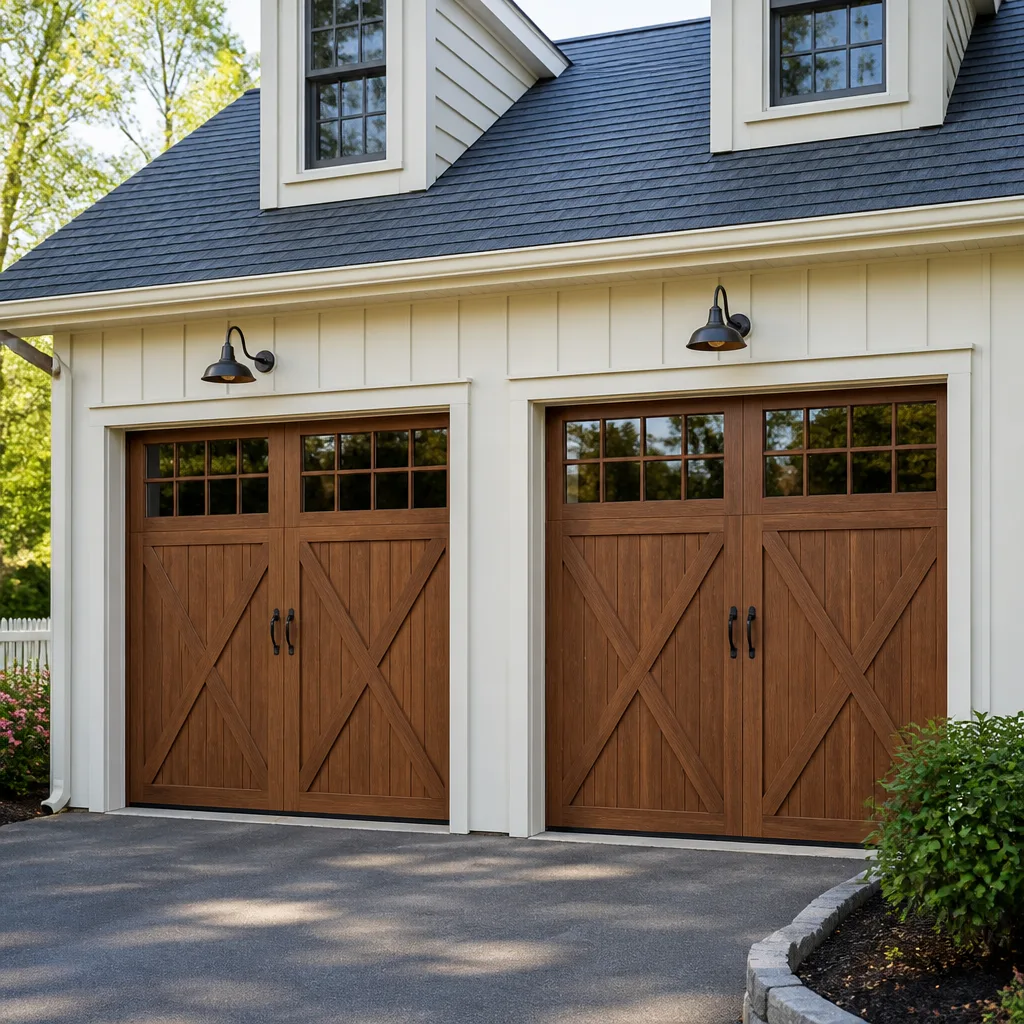 Carriage house
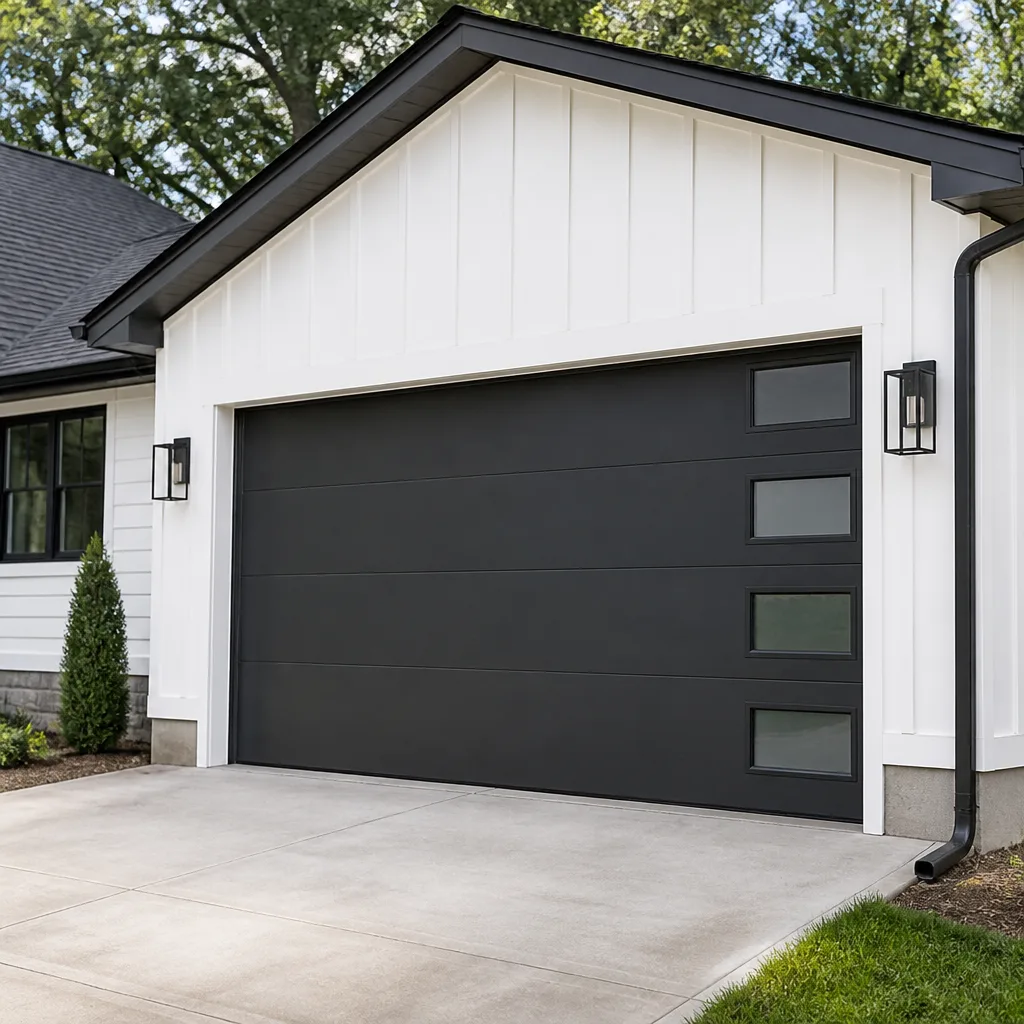 Modern flush
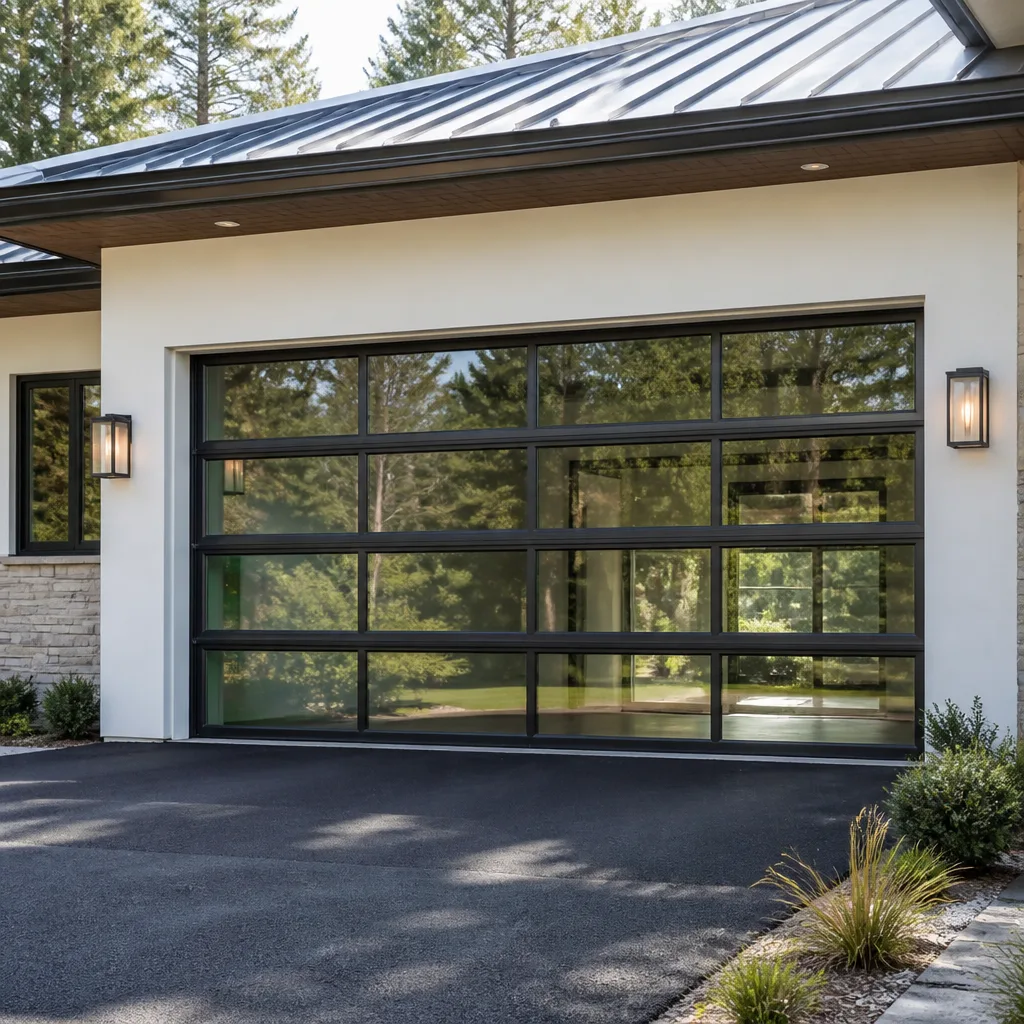 Full-view glass
 LiftMaster openers
 Chamberlain openers
Full 25-point door and opener safety check with every visit - springs, cables, rollers, tracks, and your LiftMaster or Chamberlain opener included
You get a price before we start. It does not change when the truck arrives.
Get your free estimateGarage Door Repair Maintenance Checklist for Orlando Homeowners
Here’s a statistic that should make every Orlando homeowner pause: the leading reason garage doors fail after a hurricane or severe thunderstorm isn’t wind damage. It’s deferred maintenance that left springs, cables, and brackets weakened long before the first gust arrived. A garage door in Orlando operates in one of the most punishing environments in the country for metal hardware: relentless humidity, salt-tinged air depending on your distance from the coast, afternoon downpours that flash-rust exposed steel, and summer heat that pushes attic temperatures past 130 degrees. This guide is built for that reality. You’ll learn what to check, when to check it, what to lubricate, what never to lubricate, and which maintenance steps protect both your door and your warranty.
Styles & brands we work with
Quick Answer
The core Orlando garage door maintenance routine comes down to this: inspect and lubricate your door’s moving parts every three months, run a full safety and balance check twice a year (May and October are the critical months in Central Florida), and address rust on springs and cables immediately. Homeowners who follow this schedule typically get 15 to 20 years from a quality door system, while neglected doors in Florida’s humidity often need major spring or panel replacement in under 8 years. The full checklist below takes about 20 minutes per session and requires zero specialized tools.
Table of Contents
- Why Orlando Breaks Garage Doors Faster Than Most of the Country
- The Orlando Maintenance Calendar: What to Do Every Month
- Florida-Specific Lubrication: What Works and What Fails in the Heat
- The Rust-Check Routine for Torsion Springs and Bottom Brackets
- Testing Auto-Reverse Sensitivity: Drifts Faster in Orlando Heat
- The Balance Test and Why It Matters More Here
- The Warranty Step Most Homeowners Skip
- Hardware Tightening and Track Alignment
- Common Mistakes to Avoid
- When to Call a Professional
- Frequently Asked Questions
- The Bottom Line
Why Orlando Breaks Garage Doors Faster Than Most of the Country
Orlando sits in a climate zone that combines four distinct garage door killers into one year-round attack. First, there’s the humidity. From June through September, average relative humidity runs 75 to 90 percent daily. That moisture settles on every exposed metal surface: springs, cables, hinges, brackets, tracks, and the underside of panels. Steel that stays damp begins forming surface rust within weeks, and surface rust on a torsion spring eventually becomes pitting, which becomes a fracture point.
Second is the heat cycle. Orlando summers push garage interiors past 110 degrees during the day, then nighttime temperatures can dip into the 70s. That’s a 30-to-40-degree swing every 24 hours. Metal expands and contracts with each cycle. Over years, this thermal cycling loosens bolts, shifts track alignment, and stresses spring coils at their connection points.
Third is the storm pattern. Central Florida’s afternoon thunderstorms arrive with sudden wind gusts, driving rain, and occasional hail. A properly maintained door flexes and holds. A door with loose hardware, worn rollers, or rust-weakened cables gets rattled apart. We’ve seen doors in College Park and Conway where a single thunderstorm sheared off a rusted bottom bracket that had been quietly failing for two years.
Fourth is what we call the “snowbird idle effect.” Many Orlando homes in neighborhoods like Dr. Phillips, Winter Park, and Baldwin Park sit empty for months during summer while owners head north. A door that sits closed in a humid garage for 90 days without movement lets lubricant break down and moisture settle deep into components. The first operation of the season is often the one that snaps an old spring.
None of this requires advanced mechanical knowledge to manage. It requires a schedule, a few minutes of attention, and the willingness to act on small signs before they become breakdowns. For a deeper dive on what full service entails, see our guide to Garage Door Repair in Orlando.
The Orlando Maintenance Calendar: What to Do Every Month
A generic quarterly checklist ignores how Orlando’s climate actually works. Here’s a month-by-month schedule built around Central Florida’s two real seasons: the dry season (November through April) and the wet season (May through October), with hurricane prep folded in where it matters.
January – February (Dry Season, Cooler Temps)
- Full visual inspection. Cooler weather means metal is contracted and gaps show more clearly. Check for cracks in spring coils, fraying on cables, and gaps between track sections.
- Clean the tracks. Dry-season dust and pollen build up in the track channels. Wipe them down with a dry cloth. If you find caked grime, use a mild degreaser and dry thoroughly. Never grease the tracks themselves.
- Test the door balance. Disconnect the opener (pull the red release handle) and lift the door manually. It should stay at waist height without rising or falling. If it drops, your springs are losing tension.
March – April (Late Dry Season, Pre-Rain Prep)
- Lubricate all moving parts. This is the most important lubrication session of the year. Springs, hinges, rollers, and the opener chain or screw all get treated before humidity spikes. See the lubrication section below for Florida-specific product guidance.
- Inspect weatherstripping. The rubber seal along the bottom of the door and the vinyl trim around the frame take a beating from UV exposure in the dry season. Cracks or brittleness now mean water intrusion when the rains start.
- Check for pest intrusion. Dry season drives rodents and lizards into garages. Look for droppings near the door edges and any chew marks on rubber seals or wiring.
May (Hurricane Season Starts – Critical Month)
- Run the complete hurricane readiness inspection. Every bolt, every bracket, every cable. This is not the month to skip anything.
- Test the door’s structural stability. With the door closed, push firmly on each panel from inside the garage. There should be no give or rattling. Loose panels compromise the door’s wind rating.
- Verify the emergency release works. During a power outage, you need to open the door manually. Pull the red cord and confirm it disengages smoothly.
- Check wind-load reinforcement. If your home is in a wind-borne debris zone (most of Orange County is), confirm any reinforcement struts are securely attached.
- Schedule any needed spring or cable replacement before June. This matters. If a spring has been squeaking, looking rusty, or the door feels heavier than normal, replace it now. Waiting until August means waiting weeks for service during peak season, and a broken door during a hurricane is a structural liability, not just a convenience issue.
For what to do if a spring does fail during storm season, read our dedicated guide to Garage Door Spring Repair in Orlando.
June – September (Wet Season Peak)
- Monthly rust check. Humidity peaks during these months. Feel the torsion spring coils and the bottom brackets for rough patches or flaking orange powder. Catch it now and it’s a cleanup job. Let it go and it’s a spring replacement.
- Lubricate every 60 days instead of 90. Heat accelerates lubricant breakdown. A quick reapplication of silicone spray on hinges and springs halfway through the wet season keeps things smooth.
- Clean debris after storms. Palm fronds, twigs, and leaves that blow against the door can dent panels and clog the bottom seal track. Clear them promptly.
October (Post-Hurricane Season – Critical Month)
- Full post-season inspection. Even if no storm hit your home directly, the season’s wind, rain, and humidity have done four months of cumulative damage. Inspect everything as thoroughly as you did in May.
- Check for water damage. Look for water stains on the inside of panels, rust blooms on any hardware, and swelling in any wood components. Water that got past the weatherstripping needs to be addressed before the dry season.
- Re-lubricate. The wet season has washed away or broken down much of the spring’s lubricant. A full reapplication in October carries the door through the winter.
- Reset the auto-reverse sensitivity. Heat expansion affects the sensitivity setting on many openers. Test and adjust as needed (method below).
November – December (Dry Season Returns)
- Touch-up inspection. A lighter version of the February checklist. Look for anything loosened during storm season that you missed in October.
- Battery check. If your opener has a battery backup, test it. If it uses a battery in the wall-mounted keypad or remote, replace it now so you’re not locked out during a December cold snap.
Florida-Specific Lubrication: What Works and What Fails in the Heat
Here’s a hard truth about Orlando garage door maintenance: the lubricant you buy matters as much as how often you apply it. Standard WD-40 is the worst offender. It’s not a lubricant. It’s a water displacer and solvent. In Florida’s humidity, WD-40 evaporates within days and leaves metal surfaces dry and vulnerable. Worse, it can strip away existing lubricant, leaving your springs and hinges in worse condition than before you sprayed them.
The heat is the second problem. Many general-purpose lithium greases and penetrating oils thin out at the temperatures Orlando garages hit in July and August. A lubricant that works fine in Ohio turns to a runny liquid here, dripping off the components and pooling on the door panels. What your garage door actually needs is a lubricant designed for high-temperature, high-humidity environments.
What to Use in Orlando
- White lithium grease (spray type). Best for torsion spring coils and hinges. It clings to metal, tolerates high heat, and resists water washout. Apply a light coat to spring coils, hinge pivot points, and the opener rail.
- Silicone-based garage door lubricant. Best for rollers with nylon wheels, weatherstripping, and the rubber bottom seal. Silicone conditions rubber and prevents it from drying and cracking in the sun. It also works well on the torsion spring as an alternative to lithium if you prefer a lighter product.
- Dry lubricant with PTFE (Teflon). Best for locks, keypads, and any moving part where dust attraction is a concern. Dry lube doesn’t collect the fine Florida pollen that blows around during the dry season.
What Never to Use
- WD-40 or any penetrating oil. It evaporates in Florida heat, strips real lubricant, and offers no lasting protection.
- Heavy axle grease or petroleum jelly. These trap moisture against metal in humid climates, accelerating rust. They also collect grit that turns into a grinding paste on moving parts.
- Motor oil or cooking oil. Both break down rapidly in heat, attract dirt, and drip onto your car or driveway.
Lubrication Technique (5 Minutes, Twice Per Season)
- Open the garage door fully so the torsion spring is unloaded and accessible.
- Wipe down the spring with a dry cloth to remove surface dust and old lubricant.
- Spray a light, even coat along the entire length of the spring coils. You want the coils to look damp, not dripping.
- Apply a small amount to each hinge pivot, where the hinge folds. One quick spray per hinge is enough.
- For rollers, spray only the wheel bearing area if accessible. If the roller is sealed, skip it. Never spray the track itself.
- If you have a chain-drive opener, spray the chain lightly. For screw-drive models, apply grease designed for screw drives.
- Close the door and run it once. If you hear dripping, you used too much. Wipe up excess.
The Rust-Check Routine for Torsion Springs and Bottom Brackets
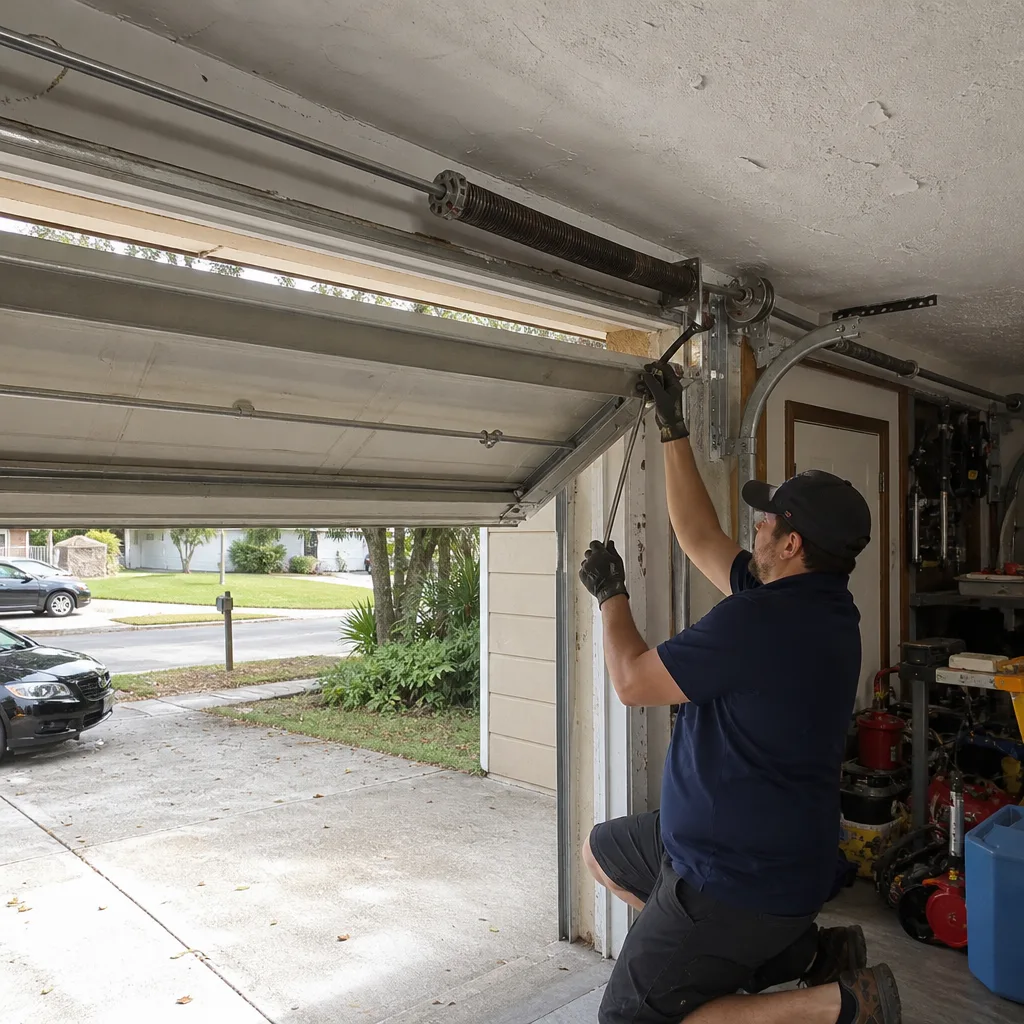
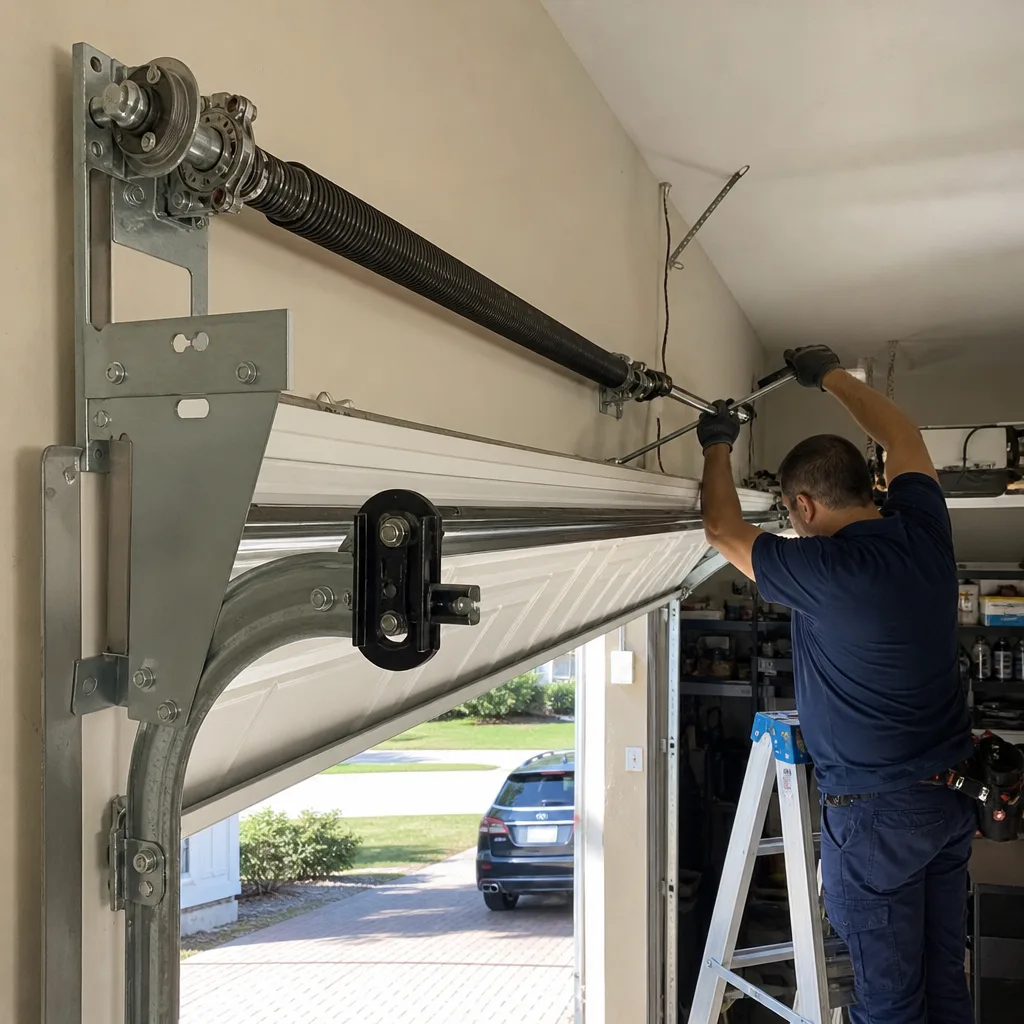
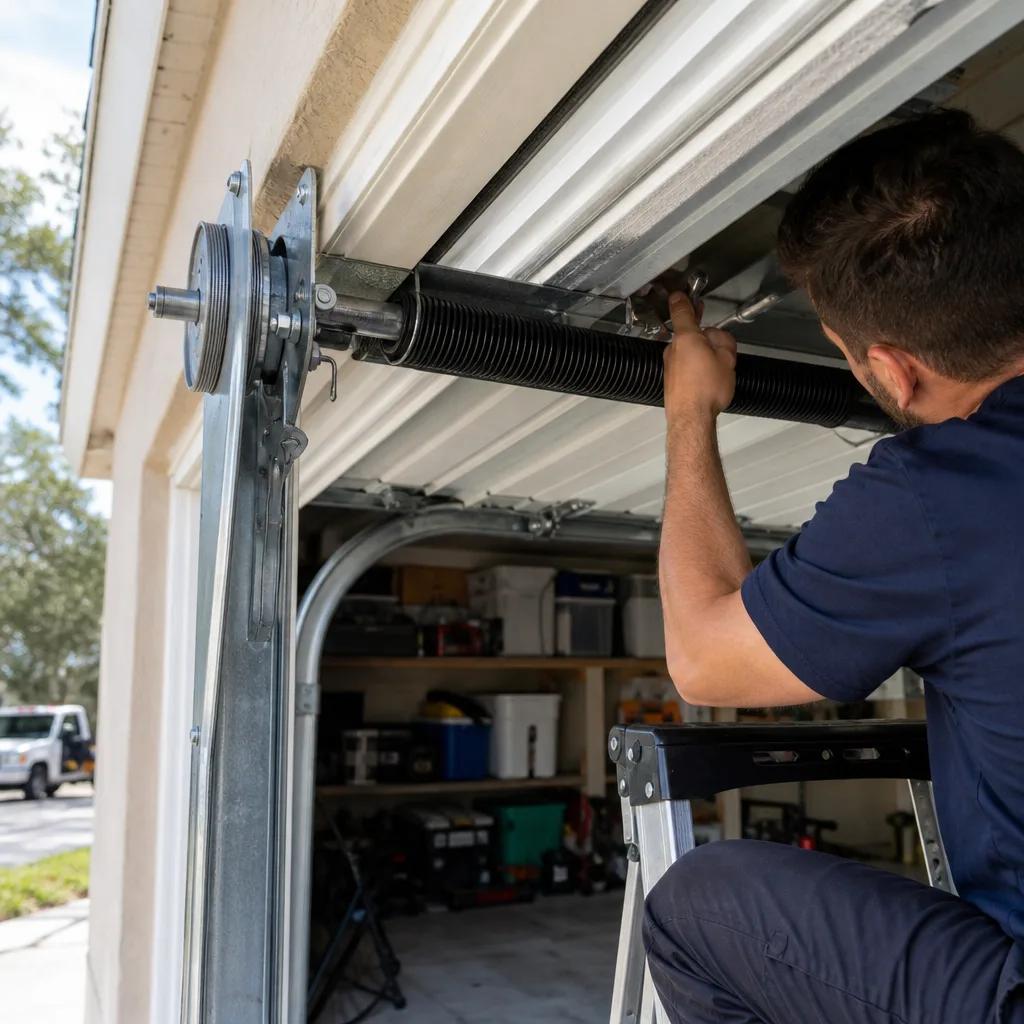
In Orlando’s humidity, rust is the silent killer of garage door hardware. The two places you’ll see it first are the ones where moisture pools and sits: the torsion spring (the horizontal coil above the door that does most of the lifting) and the bottom brackets that connect the cables to the door’s lower corners. Here’s the thing most homeowners don’t realize: a torsion spring under tension is already fighting thousands of pounds of stored energy. Surface rust on a spring isn’t just cosmetic. Each rust pit becomes a stress concentration point. The spring coil wants to unwind, and the rust pit is where the crack will start. When it snaps, it does so without warning and with enough force to cause serious injury to anyone standing nearby. This is exactly why we tell homeowners to look but never touch a spring under tension.
The 2-Minute Rust Check (Do This Monthly During Summer)
- Spring visual scan. Stand to the side of the spring (never directly underneath it). Look along the coils for orange, brown, or flaking patches. Pay close attention to the end cones and the center bracket area where the two spring sections meet.
- Bottom bracket check. Squat at one side of the door and inspect the metal bracket at the bottom corner. This bracket holds the cable that runs up to the drum. Rust here weakens the bracket and the cable connection point. Wiggle the bracket gently with your hand. It should feel rock solid.
- Cable inspection. Run your fingers lightly along the cable (with the door closed and the opener disconnected). You’re feeling for burrs, frayed strands, or flat spots. Any of these signals a cable nearing failure.
- Track moisture check. Feel along the vertical track about 12 inches from the floor. This is where condensation runs down and sits. If you feel moisture, you have a humidity problem in the garage. Consider adding ventilation.
If you find surface rust on springs or brackets, don’t attempt to sand or wire-brush it while the spring is under tension. If the rust is minimal and the spring has no pitting, applying a rust converter product can slow progression, but you need to be certain there’s no structural damage. If you’re seeing flaking, deep orange coloring, or the spring surface feels rough and pitted, the spring needs replacement. A rusted torsion spring is a mechanical failure waiting to happen, and the average cost of replacement in Orlando runs $150 to $290 depending on spring type and door weight. We cover pricing in more detail on our Garage Door Spring Repair in Orlando page.
For cable issues, the math is different. A frayed cable under tension can release suddenly and whip with enough force to cut through skin and muscle. When we see cables showing damage during inspections in Orlando, we replace them immediately rather than trying to extend their life. The cost is modest compared to what a failed cable can do to a car, a person, or the door itself. See our Garage Door Cable Repair in Orlando guide for more detail.
Testing Auto-Reverse Sensitivity: Drifts Faster in Orlando Heat
Every garage door opener sold in the United States since 1993 is required by federal law to include an auto-reverse mechanism. It’s the safety system that stops and reverses the door when it encounters resistance, and it’s the difference between a door that bumps into a bicycle and one that crushes a pet or a child. Here’s what many Orlando homeowners don’t know: the sensitivity setting that controls this feature drifts over time as heat causes internal components to expand and shift. In a climate with extreme heat cycles like Central Florida’s, that drift happens faster than in more temperate regions.
A door that was properly calibrated in January may be dangerously out of adjustment by August. The test takes two minutes and should be performed monthly during the summer.
How to Test Auto-Reverse
- Place a roll of paper towels (about 6 inches tall) flat on the floor directly under the center of the door’s path.
- Operate the door with the remote or wall button and watch what happens when it reaches the roll.
- The door should contact the roll, reverse direction within 2 seconds, and return to the open position.
- If the door crushes the roll, pushes it forward, or stops without reversing, the sensitivity setting is too aggressive. This needs adjustment.
- Also test the optical sensor system by placing a small object in the beam path while the door is closing. The door should immediately reverse.
Sensitivity adjustments are typically made via a dial or screw on the opener motor housing itself, not through the remote. If you’re not comfortable working on the opener unit, this is a 5-minute adjustment for a professional. Given what’s at stake, it’s worth getting right. We consider auto-reverse inspection a mandatory step in every service call at Marlow Garage Door Repair Orlando, whether we’re replacing a spring or just doing a tune-up.
The Balance Test and Why It Matters More Here
A balanced garage door is one where the springs are doing their share of the lifting. When springs are new and properly sized, the door feels nearly weightless when you lift it manually. As springs age, they lose tension. The door gets progressively heavier. In Orlando, this process accelerates because thermal expansion and contraction stress the spring steel more severely than in moderate climates.
Why does balance matter? Two reasons. First, an unbalanced door forces the opener motor to work harder on every cycle. A motor that should last 15 years burns out in 8 because it’s been lifting a door that’s 20 or 30 pounds heavier than it was designed to handle. Second, an unbalanced door wears every component faster: rollers flatten, hinges stretch, cables chafe, and track brackets work loose. A door that gets rebalanced at the first sign of heaviness protects everything else.
The 30-Second Balance Test
- Close the door completely.
- Pull the red emergency release handle. This disconnects the door from the opener carriage.
- Lift the door by hand until it’s about waist height (3 feet off the ground).
- Release the door. Watch what happens.
- A properly balanced door will stay in place, moving only an inch or two at most.
- A door that drifts downward has springs that are losing tension. It needs adjustment or replacement.
- A door that rises upward is over-sprung, which is also a problem and typically points to an installation error or improper repair.
- When finished, re-engage the opener by pulling the release handle again and running the opener until it latches.
If your door fails the balance test, don’t ignore it. The fix may be a spring adjustment ($80 to $150 in most cases in Orlando) or a full spring replacement ($150 to $290 per spring depending on type). The longer you wait, the more likely the old spring snaps unexpectedly, which often happens when the door is in the open position and the car you love is sitting underneath it. For thorough coverage of spring work, see the Garage Door Spring Repair in Orlando page.
The Warranty Step Most Homeowners Skip
Here’s the maintenance step that most Orlando homeowners have never heard of, and it’s the one that can void a manufacturer’s warranty faster than any other. Most garage door manufacturers – including major brands like LiftMaster, Chamberlain, Clopay, and Amarr – explicitly require the door to be re-tensioned by a qualified technician whenever the spring is adjusted or replaced. More specifically, many warranties state that the door’s balance must be verified and adjusted by a professional at least once every 12 to 18 months, depending on the manufacturer.
Think about what that means in Orlando. Your springs are losing tension steadily due to heat cycling and humidity. If you wait 3 years and then the door fails, the manufacturer can point to your lack of professional maintenance and deny the warranty claim. The fix may have been a $100 spring adjustment, but the denial means you’re paying for a full door replacement out of pocket.
The warranty landscape varies by brand. Raynor and Amarr warranties are generally more explicit about the documentation requirement, asking for proof of professional service. LiftMaster and Chamberlain (which are the same parent company) put the requirement in the opener warranty more than the door warranty. Craftsman, which was historically a Sears brand, now operates through a licensing arrangement that also expects documented maintenance.
What does this mean practically? Keep a simple maintenance log. Every time you have any technician touch the door – including us at Marlow – ask for a written record of what was done. A single piece of paper that says “spring tension adjusted, balance verified, all hardware inspected” can be the difference between a covered warranty repair and a denied one. In our experience serving Orlando homeowners since 2002, most warranty disputes come down to exactly this kind of documentation gap.
Hardware Tightening and Track Alignment
Every garage door has dozens of bolts, nuts, and screws holding it together. In Orlando’s heat cycle, every one of those connections slowly works loose. The vertical tracks that guide the door are especially vulnerable because they’re mounted to the wall studs, and the wall itself expands and contracts with temperature changes. A track that shifts by a quarter inch is enough to cause the door to bind, grind, or jump the rollers.
This section covers the routine that prevents most “mysterious” garage door noises and erratic operation. It takes about 10 minutes and requires nothing more than a socket wrench or a Phillips screwdriver.
The 10-Minute Hardware Check
- Close the door and disconnect the opener. You want the door stationary and under no pressure from the motor.
- Check track brackets. The vertical tracks on both sides are held to the wall by 3 to 5 brackets each. Tug on each bracket. Any movement means the fasteners are loose. Tighten them with a socket wrench. Do not over-tighten – snug is enough.
- Check track alignment. Run your hand along the inside edge of each vertical track. It should be smooth and continuous. If you feel a lip or gap where two track sections meet, the tracks have shifted. Minor misalignment can sometimes be corrected by loosening the bracket, realigning, and re-tightening. More significant shifts need professional attention because the entire track system may need re-hanging.
- Check hinge bolts. Each panel has hinges on both sides. These bolts pass through the panel and thread into the hinge plate. Over time, they back out. Try to wiggle each hinge with your hand. If it moves, tighten the bolts.
- Check the roller brackets. The rollers at the top and bottom of each panel sit in brackets. Verify the roller stems are seated properly in the bracket slots. A roller that’s popped out of its bracket will wear rapidly and can cause the door to jam.
- Inspect panel seams. Run your eye along each horizontal seam where panels meet. Look for gaps, cracks, or separation. In Orlando’s heat, panel adhesive (used on some insulated doors) can degrade and cause the panel face to delaminate from the frame.
- Check the opener mounting. Look at the opener motor hanging from the ceiling. It’s held by perforated metal straps. Tug on the unit. If it moves more than an inch, the straps need tightening. A vibrating opener transfers noise and stress through every component.
If any of this feels like more than you want to handle on a ladder, that’s what we’re here for. A professional tune-up from Marlow Garage Door Repair Orlando covers all of these checks and adjustments in a single visit.
Common Mistakes to Avoid
- Using WD-40 as a lubricant. It’s the most common mistake we see in Orlando, and it’s the fastest way to strip protective lubricant from your springs and hinges. WD-40 is a water displacer, not a lubricant. In Florida humidity, it evaporates in days and leaves metal dry.
- Greasing the tracks. The rollers ride inside the track on bearings. Grease on the track surface attracts Florida dust and pollen, creating a sticky paste that grinds down rollers and causes the door to bind. Tracks should be cleaned, never lubricated.
- Skipping the May hurricane prep check. Orlando homeowners who wait until a storm warning to inspect their door are too late. By the time you’re boarding windows, a weak spring or frayed cable can’t be replaced in time. The May inspection is your insurance.
- Ignoring a squeaking spring. A torsion spring that chirps or squeaks is telling you the coils are rubbing against each other and the spring is wearing. Spraying lubricant quiets it temporarily, but the underlying wear continues. A squeak that goes away after lubrication but returns within days usually means the spring is near failure.
- Testing the balance test with the door connected to the opener. Trying to lift a door that’s still connected to the opener carriage gives you a false reading because the motor’s internal brake adds resistance. Always pull the red release handle first.
- Dismissing a door that reverses for no reason. If your door starts reversing when nothing is in the way, the problem could be misaligned safety sensors, a failing logic board, or a door that’s suddenly binding due to a shifted track. “It’s working again” doesn’t mean the issue resolved itself. Any intermittent behavior is a warning sign that a component is degrading.
- Attempting DIY spring work. Torsion springs are under extreme tension – enough to maim or kill. Even with YouTube videos and the right tools, doing this wrong is not worth the risk. This is the one repair where “saving money” can become catastrophic. Our spring repair team handles these replacements daily with proper tools and safety equipment.
When to Call a Professional
Some garage door tasks are genuinely DIY-appropriate, and the checklist above covers those. But certain situations demand a trained technician, not because of complexity but because the risk of injury is real. Any work involving a torsion spring is in this category. The spring is wound under thousands of pounds of force, and one wrong move can release that energy into your hands, face, or body. We never recommend DIY spring adjustment or replacement, and most manufacturers void warranties when they find evidence of amateur spring work.
Similarly, any cable issue – fraying, kinking, or a cable that’s come off the drum – is a professional repair. Cables under tension can whip with devastating force when released. Track realignment is another area where the tools and experience matter; getting it wrong causes repeated derailments and accelerated wear. Finally, if your door fails any of the safety tests described above and you’re not confident adjusting the opener, call someone who does this daily.
Marlow Garage Door Repair Orlando offers free estimates in Orlando. Call (850) 790-4744 and a live person answers, 24/7. You’ll get a written price before any work starts, and every repair we make is backed by the 365-Day Done Right Promise: if the fix doesn’t hold, we come back and make it right at no charge. No voicemail, no callback queue, no wondering when the tech will arrive. You see your technician coming, live, and you see the price before a wrench turns.
Frequently Asked Questions
Every 90 days during the dry season (November through April) and every 60 days during the wet season (May through October). Orlando’s heat breaks down lubricant faster than in cooler climates, and humidity washes away the protective film on springs and hinges. A full lubrication session takes about 5 minutes with the right products: white lithium grease for springs and hinges, silicone spray for rollers and weatherstripping. Call (850) 790-4744 if you’d rather have a Marlow technician handle it – our tune-up includes professional-grade lubrication on every moving component.
In Orlando, the most common consequences are spring failure, cable breakage, and premature opener motor death. Springs that go unlubricated in humid air rust and snap, usually within 5 to 7 years instead of lasting 10 to 12. Cables that aren’t inspected fray and release under tension. And the opener motor burns out from lifting a door that grows heavier as the springs lose tension. The repair bill for a broken spring ($150 to $290 per spring) or a new opener ($300 to $600 installed) far exceeds the cost of annual maintenance. Call (850) 790-4744 for a maintenance quote specific to your door.
Yes, for inspection, lubrication, cleaning, and safety testing. The 10-minute hardware check and the balance test are well within a homeowner’s ability. What you should never attempt yourself is anything involving torsion springs or cables under tension. Those components store enough energy to cause serious injury or death, and professional tools and training are required to work on them safely. For spring and cable work in Orlando, call (850) 790-4744. Marlow’s technicians are trained on eight major brands, including LiftMaster, Chamberlain, and Craftsman, so the person who arrives knows your door’s specific specs.
A professional tune-up and inspection typically runs $79 to $149 in the Orlando market, depending on door type and what’s included. Some companies charge more for “premium” packages that bundle lubrication, hardware tightening, and safety testing. At Marlow Garage Door Repair Orlando, we recommend a tune-up every 12 to 18 months, and we always deliver a written price before we start any work. You’ll never see an invoice that’s higher than the number you approved. Call (850) 790-4744 to get your exact tune-up price.
In most cases, yes. Major manufacturers like Raynor, Amarr, LiftMaster, and Chamberlain include language in their warranties requiring professional service at regular intervals, typically 12 to 18 months. If you can’t provide documentation showing the door was professionally maintained, a warranty claim for spring or panel failure may be denied. Keep records of every service visit. A professional tune-up with written documentation protects both your warranty and your door.
Yes, and the data backs it up. Orlando averages 75 to 90 percent relative humidity daily during the summer months, compared to 40 to 60 percent in most of the country. That sustained moisture exposure means steel springs and cables rust faster, lubricants break down sooner, and wood or composite panels can warp. Every maintenance schedule needs to account for those Florida-specific conditions. The calendar in this guide is built for Orlando’s two-season reality, not a generic national average.
The Bottom Line
Your garage door in Orlando works harder than it would almost anywhere else in the country. The humidity rusts its springs, the heat cycle loosens its hardware, the summer storms batter it, and the months of idle time in snowbird season let problems compound invisibly. The maintenance checklist in this guide is built for that reality. Inspect and lubricate every 90 days, run the full safety and balance check in May and October, treat rust on springs and brackets as an immediate priority, and never attempt spring or cable work yourself. Stay ahead of the calendar, and your door will serve you for 15 to 20 years. Fall behind, and you’re one afternoon thunderstorm away from a broken door and a car stuck in the garage. For the most thorough tune-up in Orlando, with a written price before work starts and the 365-Day Done Right Promise on every repair, call (850) 790-4744 or book online in seconds.
Written by Jaylen Ross, Owner at Marlow Garage Door Repair Orlando, serving Orlando since 2002.
See the difference
 Before
 After
After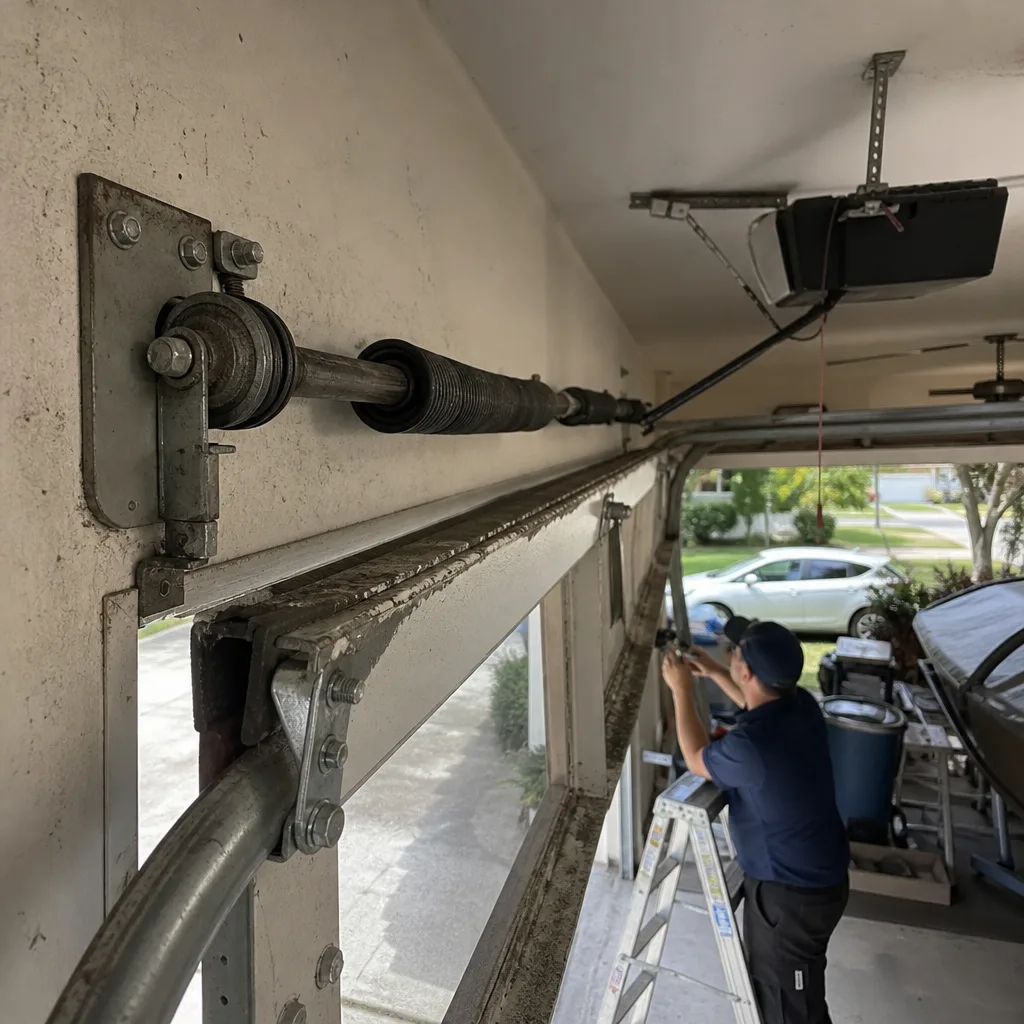 Before
 After
After Before
 After
After